|
Brief History:
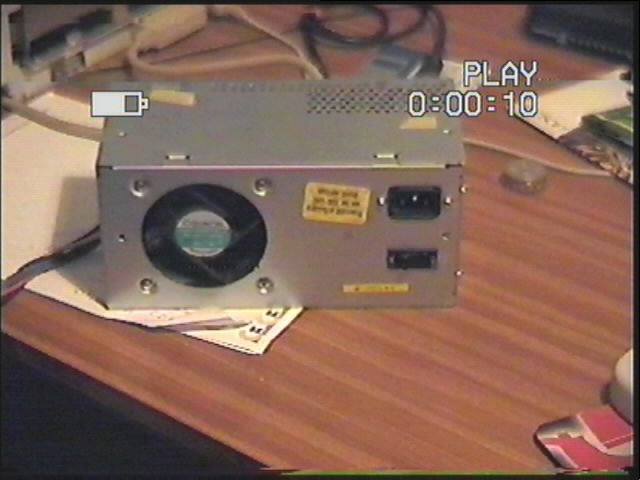
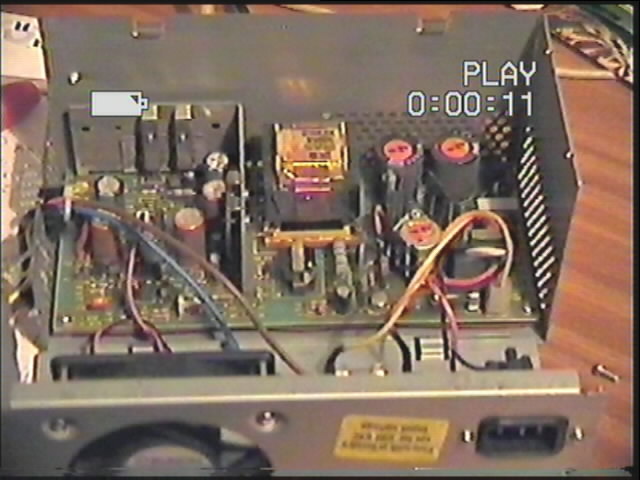
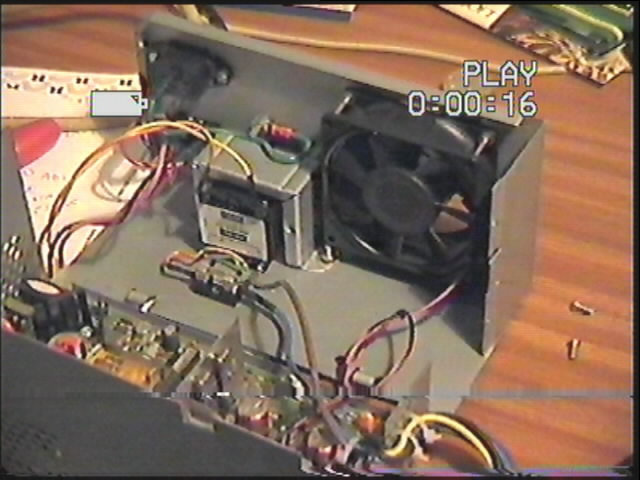
One day I switched on my 128D,the Tin or American version and ziltch happened, Power Supply failure. After trying to find
a repairer, along came a NIGHT IN SHINING ARMOUR---COLIN J THOMSON. To cut a long story short, Colin looked at my old PS and
said that it was irrepairable.(the post office cracked the main board) I mentioned to Colin that I had an old Commodore PC
and would send the power supply to him to see if it would power my 128D. It turned out that all that was needed to get my
128D up and running was an additional 9 volt transformer and a few extra electrical components. I now have an external power
supply running my 128D.
Having learnt from my previous 81 instalation, I decided to fit an 81 drive along side the internal 71. Only this time I would
use an external Amiga drive mechanism. Figuring that since it read the same type of disks it would work with the 81 board.
The only difficulty I could forsee would be with the serial connection. Voltages, power etc would be the same as before. Using
my previous experiences I was able to figure out the connections to the built in serial port connector, next I cut a cable
and belled out the connections to make sure they where what I expected them to be before soldering them to the underside of
the board. Once I had tested that the serial connections worked, I added device switches and a switch to switch out the drive
if I needed to. Fitting the new drive mechanism prooved fairly easy. I made a template of the drive and imposed it on the
outer plastic cover, cutting it out to suit. The inner tin cover prooved just as easy only I left part of the cut out bent
90 degrees to the cover to use as a base to hold the drive mechanism inplace. I mounted the drive board on top of the drive
mechanism,making sure that both units where completely insulated from each other. The power for the drive was tapped from
the new power supply. I could have used the lead from the old power supply but decided to supply the drive and board through
their individual sockets.
Serial Port Connections.
How to connect the 81 to the serial bus took a bit of thinking out. The plastic version of the 128D,came with the port connectors
on each board but the tin version came with the 71 board built into the motherboard. I decided the best way was to connect
to the outgoing serial connector from under the motherboard. The connections are described with the picture below.
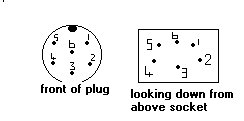
Colours---1=white. 2=brown. 3=orange. 4=green. 5=blue. 6=black. 3 is the attention line if a switch is fitted in this line
then the drive can be switched in or out.
|